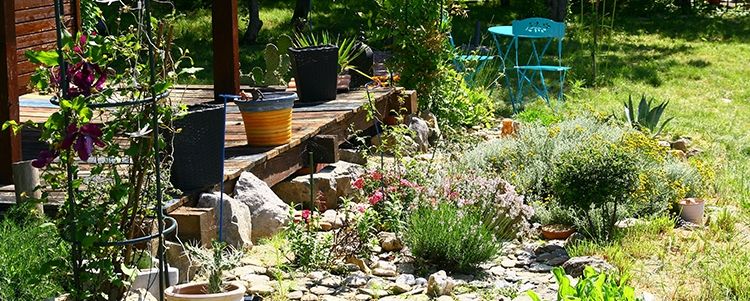
Artificial stones look and feel like their real counterparts, but weigh a lot less and are therefore easier to maneuver. Rock stones, depending on the size and weight, can easily cost a few hundred euros, hence artificial stones are a cheaper alternative.
Artificial stones, which are also called fake stones or faux rocks, can be bought in plant shops, but in this blog post we want to show you how to make them yourself. Learning how to make faux rocks is actually something almost anyone can do. The only important thing is to start small and then gradually make bigger objects. This way you can gain confidence and further develop your skills.
If you are interested in starting to make fake bricks, but are skeptical of your abilities to succeed, remember that any skill is a learned skill. It takes practice and your first projects are more likely to land on a landfill than in your garden, on your patio or at the edge of the garden pond. If the first stone does not look real enough, try again. The result will gradually look better.
Are you ready to make your first faux rock? Here we go!
What you need:
-
Styrofoam
-
Chicken wire
-
Portland cement (1 part)
-
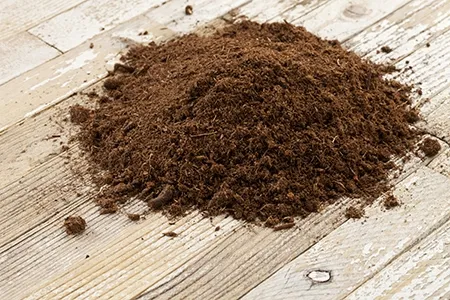
Peat moss (1.5 part)
-
Perlite (1.5 part)
-
An old bucket (or something else to mix the cement in)
Step 1
Break the styrofoam into pieces. For example, you can use styrofoam left over from when you received an order.
Step 2
Cut a piece of chicken wire large enough to roll around the amount of styrofoam so that the styrofoam is stuck inside.
Step 3
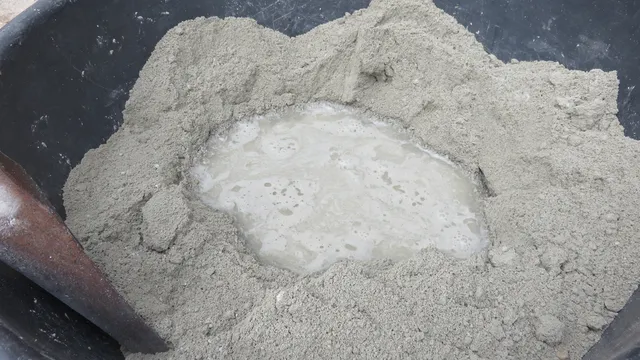
Mix Portland cement, peat moss and perlite together in the bucket. Add water until the mixture forms a whole and sticks together well. If you added too much water, you can add more cement, peat moss and perlite to make the proportions better.
Step 4
Make sure you have enough mixture to form a ball around the chicken wire. Use the latex gloves to apply the mixture around the styrofoam / chicken wire.
Step 5
Try to form a round whole before you let your creativity go wild and want to create a more natural stone. Dimple the surface where you want it.
Step 6
Allow drying for 48 hours
Step 7
Brush dust and loose pieces off the stone
Done! Now your faux rock is ready to be placed in the garden. The small pieces of perlite will shine beautifully in the sun and most people will not see the difference between your faux rock and a real one. Once you have successfully shaped your first fake stone, it is time to try this a second time. Now you are ready to try a slightly larger model