There are various buttons and switches on a screwdriver or a hammer drill. These allow you to setup the drilling machine before you start a project, and adjust it when necessary.
Especially for the DIYers who are not experienced with drilling machines, we give some information about how to setup and use it.
Forward and reverse control

With the forward and reverse control switch, you can change the direction the screw drill is driving.
Toggle the switch to the right to tighten screws or drill holes. Toggle the switch to the left to loosen a screw or back out of a drilled hole. You lock the tool by setting the switch in the center position. Change the switch into the reverse position can help when the drill is jammed.
Speed control trigger

With the speed control trigger, you can vary the speed of drilling. The harder you squeeze the switch, the faster the drill spins. Drilling and screwing at the right speed is important for various reasons.
It is recommended to start at a low speed and accelerate as soon as the drill “grabs”. Screwing is better at a low speed.
What speed to use, depends on the kind of material that has to be drilled: the harder the material, the more RPM you need.
Speed control switch

A second speed control that most drilling machines have, is a switch that you can put in two positions: low and high. You use the low setting for screws and the high setting for drilling.
When you read the description of the drill, you will see that the speed is indicated in RPM: revolutions per minute. The RPM of a drill indicates the number of times the drill bit rotates in one minute.
For cordless drill drivers, speed ranges from 500 to 2000 RPM, the average cordless screwdriver operates at around 200 RPM.
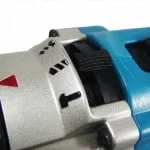
Torque control

Just above the drill bit, there’s a ring with numbers: that is the torque control ring. By turning this ring, you can pre-set a maximum level of torque for your project at hand. What is torque and what is it used for? Simply put: torque is the force by which the drill bit rotations accelerate. The more torque, the more force, the thicker the drill bit you can use for the more hard material that has to be drilled. Each digit on the ring corresponds to a torque expressed in Nm (Newton meter). You use the highest position for drilling, the other positions for screwing, depending on the material. Screwing in wood or plasterboard is better on a low setting, for the hardwood you will need more torque.
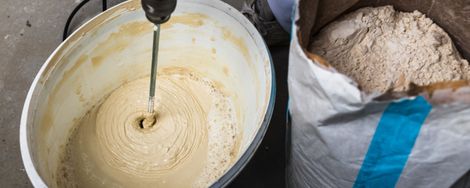
Tip: with torque set on high level, you can also use the drill to mix small amounts of concrete or mortar.
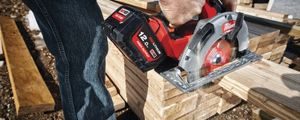
Hammer drill function
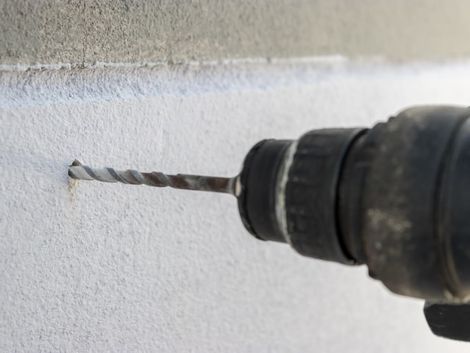
A hammer drill (or impact drills) enables you to drill in stone, concrete or mortar.
With the switch set on “drill”, your machine works like a regular screw drill, if you set it to “hammer”, the drill not only rotates but also moves forward with a pulsing hammer-like movement. Much like a hammer that pulverizes stone.
You can find cordless impact drivers and drills on the market with a vastly improved battery technology.
Some tips:
- Use the hammer function when drilling into hard stone.
- Turn off the hammer function for drilling and screwing in soft materials such as wood and plasterboard.
- Impact drivers are not efficient for drilling into concrete. You had better use a roto-hammer instead.
- If you want to drill in a tiled wall, start with the drill function and only switch into the hammer function once you have gone through the tile and start drilling into the wall