Sealing joints is something you should know how to do. The different types of sealants are essentially durable glues that stick everywhere – hands, clothes, tools – and they can create a huge mess. A bit of experience is needed to handle the sealant pistol correctly. These tips will help and guide you towards a professional result.
Which sealant should you use?
Sealant (also called kit) is used to connect materials together and to fill gaps. There are many different types of sealant, each with its specific application, from aquarium kit to kit for covering roofs and industrial use. In DIY jobs you’ll mainly be using two types: acrylic sealant and silicone sealant.
Acrylic sealant
Acrylic sealant is suitable for most applications in dry rooms. This kit can be applied easily to close gaps between wooden parts and plasterboard, or to join stone. You can paint over acrylic sealant.
Silicone sealant
A little more know-how is needed to use this elastic kit. Silicone sealant is best used wh![]() en the adhesive needs to be resistant to movements or use of the material. There is a super elastic and antifungal type of kit that is especially suitable for wet places: sanitary sealant
en the adhesive needs to be resistant to movements or use of the material. There is a super elastic and antifungal type of kit that is especially suitable for wet places: sanitary sealant
Before you seal joints
Before using the kit tube, first check if you have all the materials you need:
- The right sealant
- Sealant pistol (kit pistol)
- Utility/Stanley knife
- Tape to tape-off along the edges
- Bowl of soap water
- Something to smoothen the sealant after it has been applied. For this you can use special spatulas, but an old credit card, ice cream stick or a wet finger will also do the job.
- Dustcloth or paper towel
Removing old sealant
Sanitary sealant loses its visual appeal after several years. The sealant will start getting black spots due to the antifungal ingredient slowly losing its potency. The only way to go back to having a good result is to completely remove the old kit. The large part of the kit can be removed using a utility knife. Please be careful not to scratch the tiles.
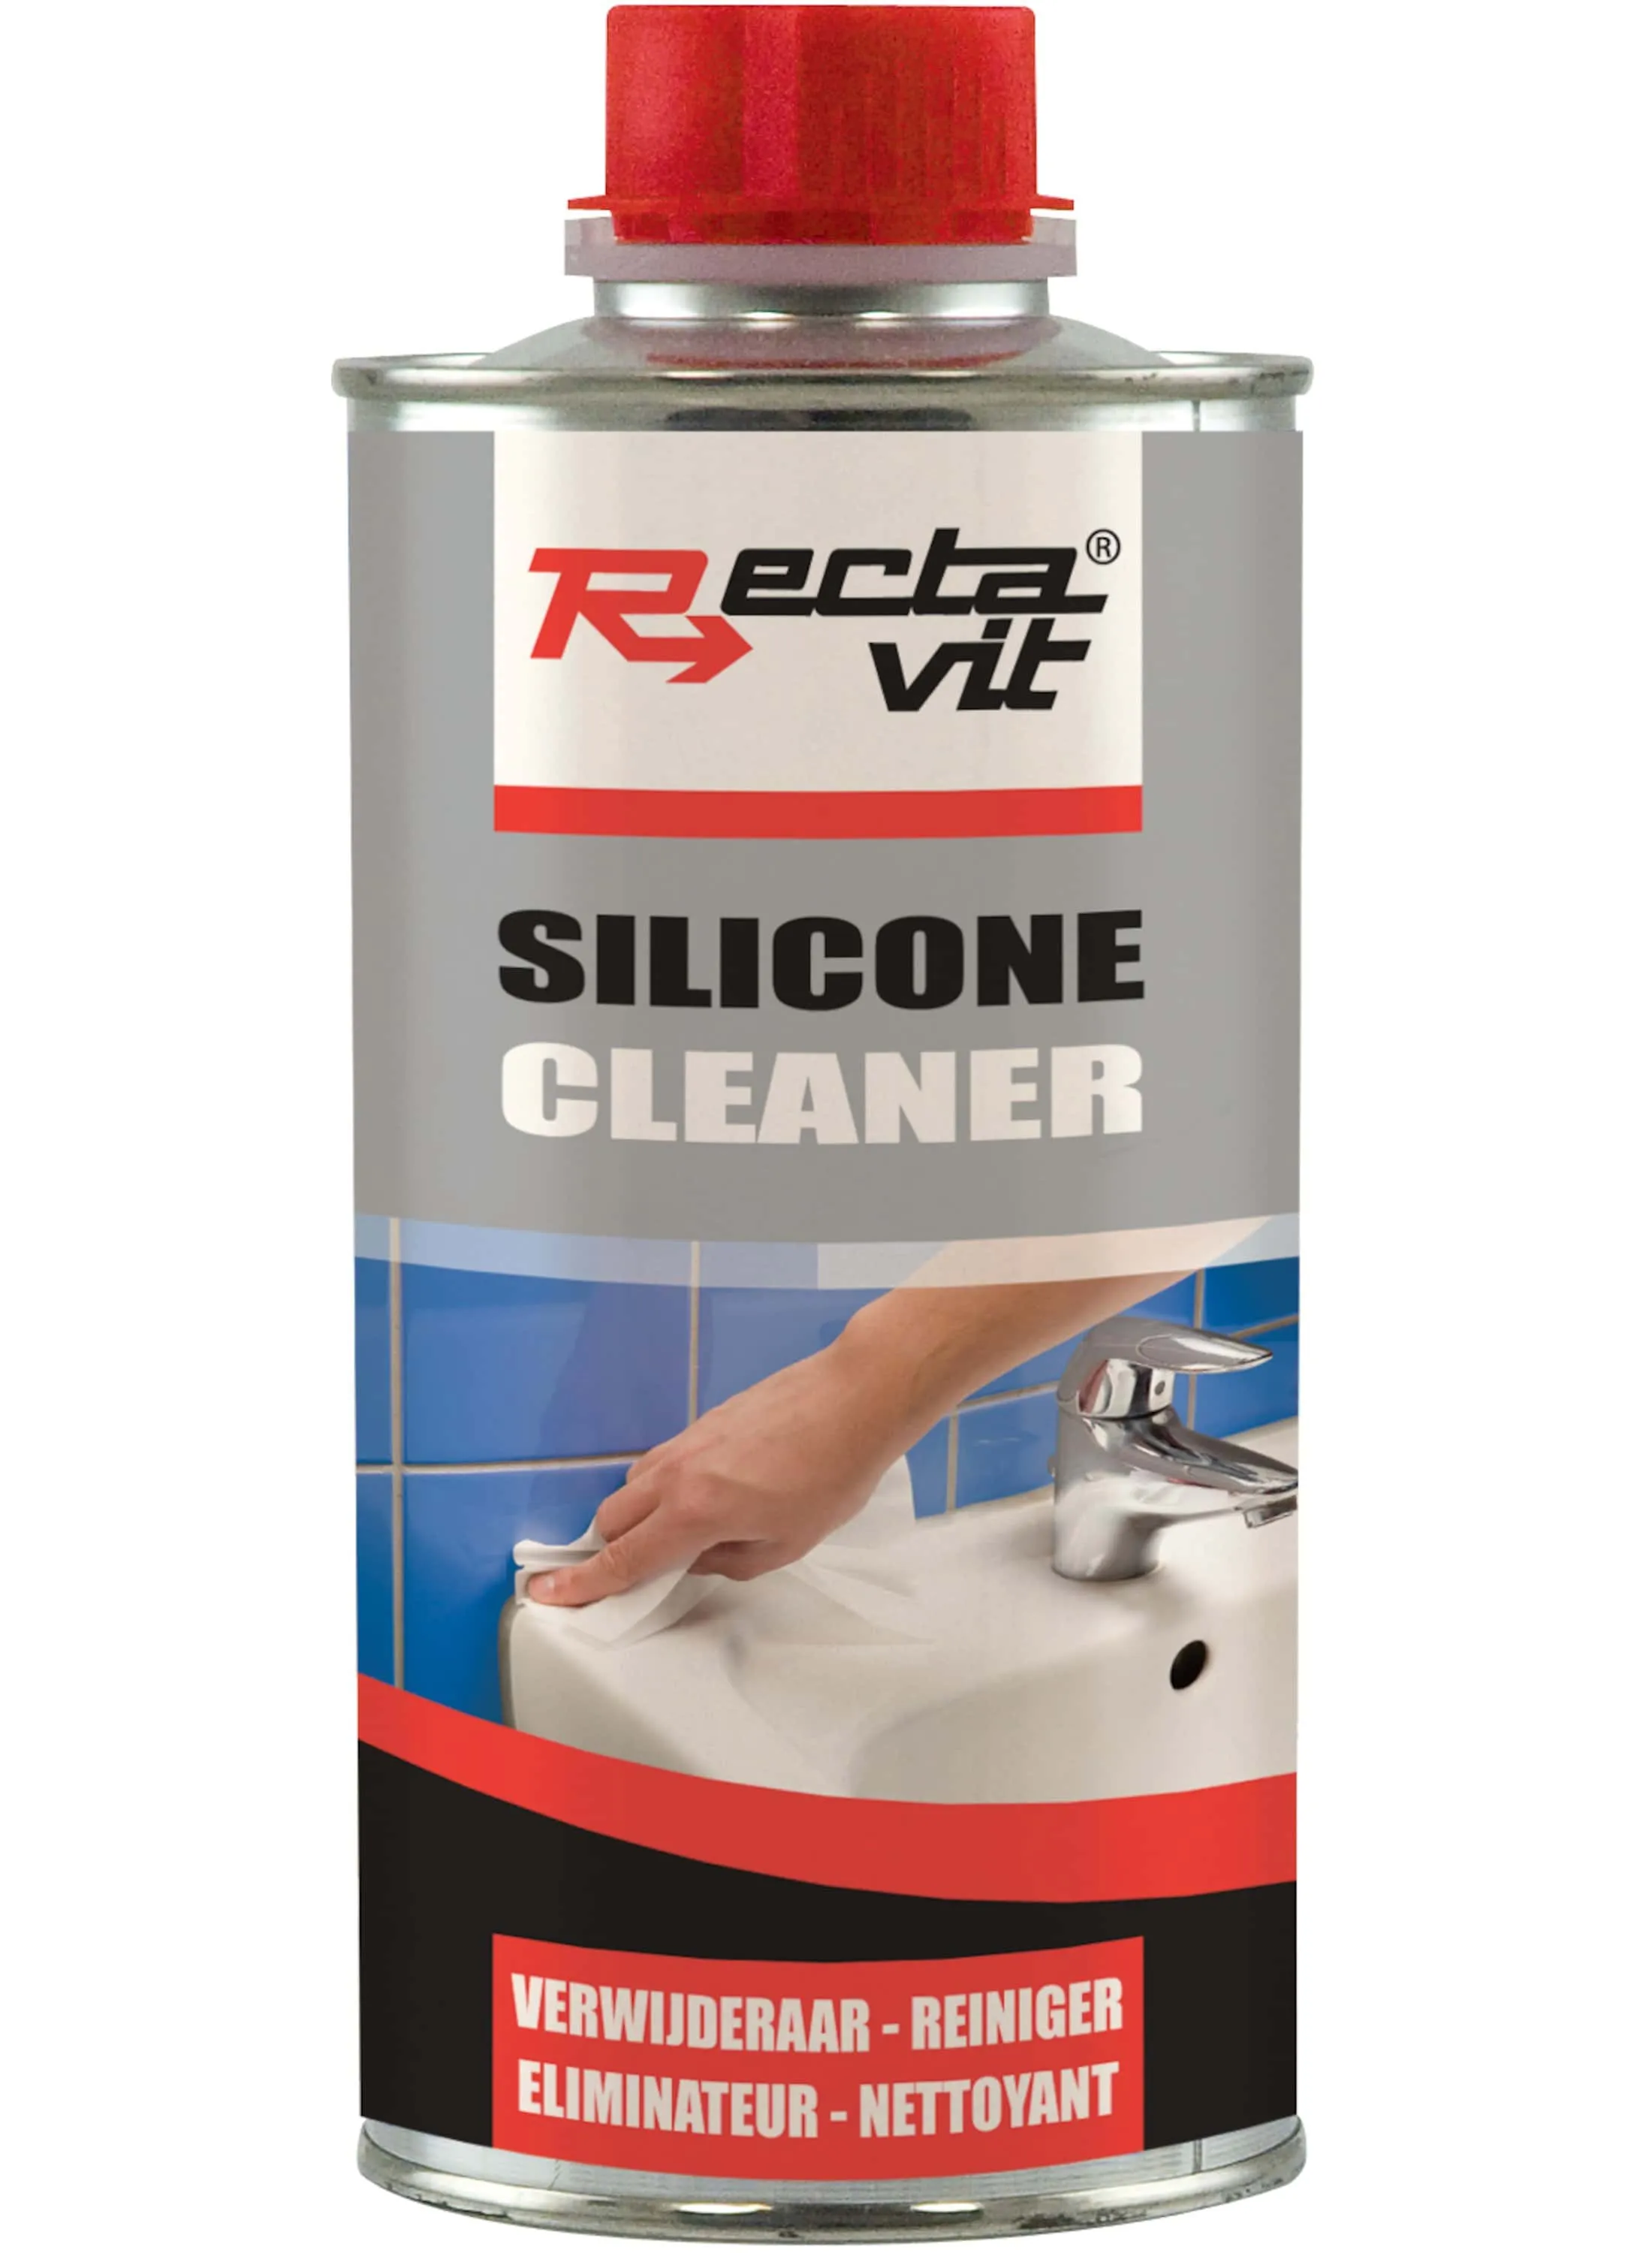
You can use a special silicone sealant cleaner to remove the last bits. The packaging contains information on how much time it needs to absorb and do its work. Once all the old kit is gone you can clean the surface using methylated spirit, for example. This is a strong solution of baking soda in warm water or – for those who enjoy its fragrance – ammonia. Dirt, grease and scraps of kit prevent the new kit from attaching and hardening properly. It is important to rinse everything thoroughly with water and to allow it to dry thoroughly before you start sealing.
Tip: To ensure a good adhesion of sanitary sealant on the edge of a plastic bath or shower tray, you can first apply a primer. If you want to connect wooden parts with acrylic sealant, you can improve the adhesion by roughening up the edges a little using sandpaper.
Sealing joints step by step
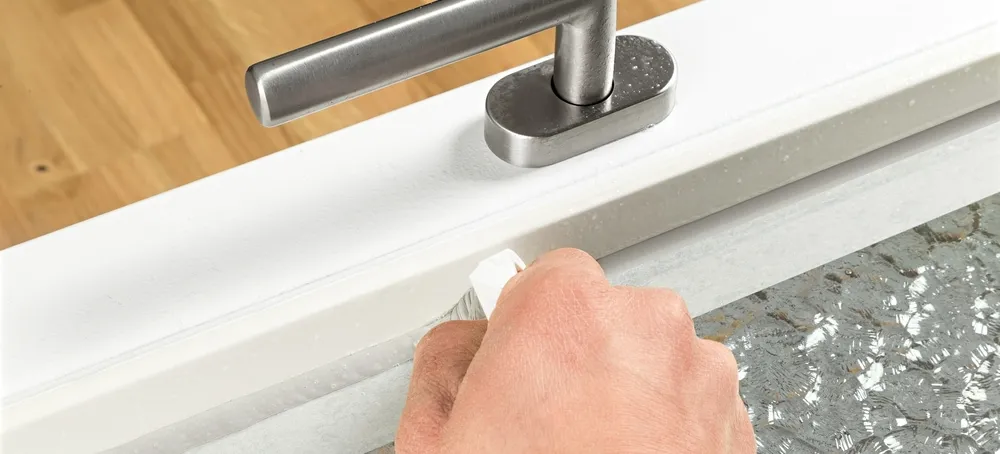
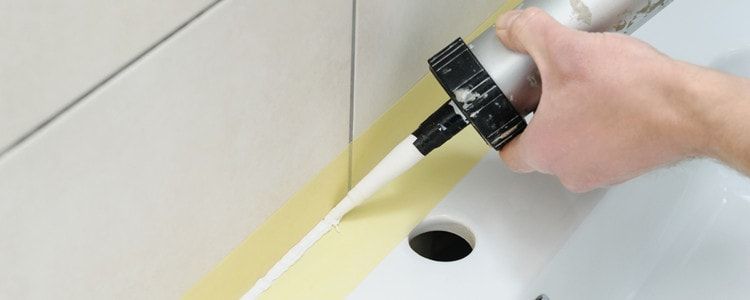
1. Cover the edges of the joints with duct tape to easily remove the excess kit.
2.Cut the top of the sealant tube, tighten the spray mouth and cut it diagonally so that the opening is the same size as the width of the kit that you need.
3. Attach the tube in the sealant pistol and squeeze the handle until a droplet releases from the nozzle.
4. Place the nozzle at the the edge where you want to start sealing, squeeze the handle and pull the pistol in a smooth motion along the edge. In this motion you are moving the tube towards you. This will allow you to work more accurately than when you push it away from you. It is better to use too much kit rather than too little: Excess kit can easily be removed, but if you use too little there will be insufficient adhesion. Once you’ve finished, press the button on the rear of the sealant pistol to stop the stream of kit immediately.