Placing cornices or crown moldings between the wall and ceiling makes the difference between a simple, neutral room and a stylish looking room. Cornices make a room look finished, and it also creates a more homely and cosy atmosphere. Using molds between the walls and the ceiling is especially suitable in a dining room, living room or bedroom.
Wood and MDF are the most common materials used in cornices. If you opt for high-quality cornices, you can easily install them yourself. Placing crown moldings is quite easy, and in this article, we will go over the different steps to achieve a good result.
Here is what you need:
Prepare the surface
It is essential to make sure that the surface is smooth and level before attaching the molds. A clean surface is crucial. Therefore, make the top of the wall and the corners of the ceiling dust and grease-free. You must also make sure to eliminate any irregularities, cracks and holes in the wall or ceiling.
How to cut crown molding
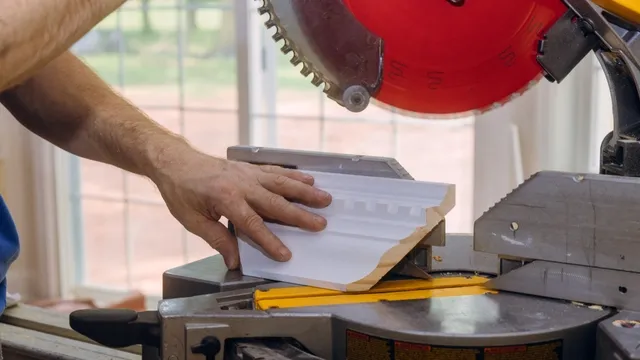
The most difficult part of installing molds is cutting the moldings to size. Therefore, use a fine-toothed saw and a miter box to cut the connecting corners. When using a rough saw, you run the risk that the cornices will not fit together properly, and a gap could remain in between. Use a miter saw to cut the cornices at a 45-degree angle. If you use cove corners or corner pieces, miter cutting is unnecessary.
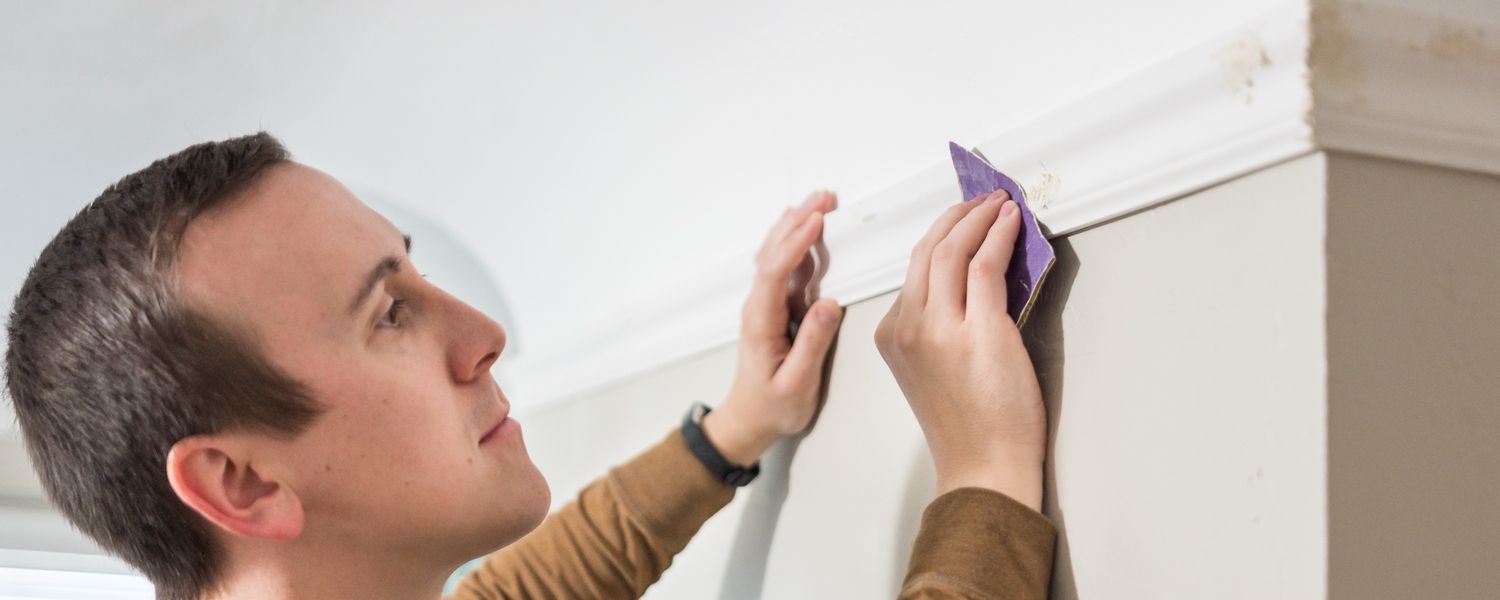
Using a pencil and ruler, draw a slanting line where you want to cut the exact angle. Place the frame in a miter box and cut along the indicated lines. Hold the frame as tightly as possible, and cut the molds to size. After cutting to size, go along the cut corner with a wood file and scrape away the irregularities at the cut corner.
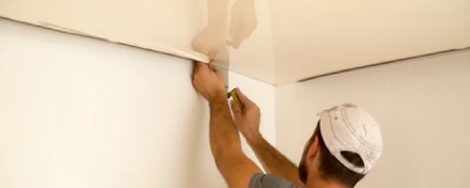
Place molures on the ceiling.
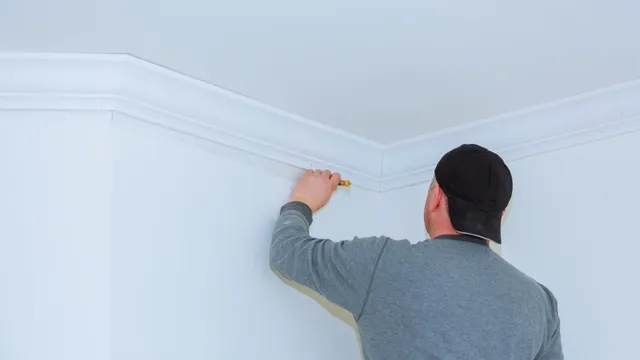
Apply the glue evenly to the smooth surfaces of the back of the first piece of molding. The correct type of glue is often already supplied with the moldings. It can vary depending on whether you are using wood or plastic. Press the cornice against the wall and move the molding back and forth so it adheres better to the wall. Make sure the top and bottom of the cornice are flush against the wall and ceiling.
If glue seeps out at the top/bottom, you can wipe it off with a damp cloth. Press the crown molding firmly into place and continue to support the molding for a few minutes until the molding is fixed. Apply glue to the following pieces and press them into place in the corners between the wall and the ceiling in the same way. You can fill gaps in the corners between frames at the end with joint glue or filler if necessary. Once the cornices are painted over, this will no longer be noticeable.
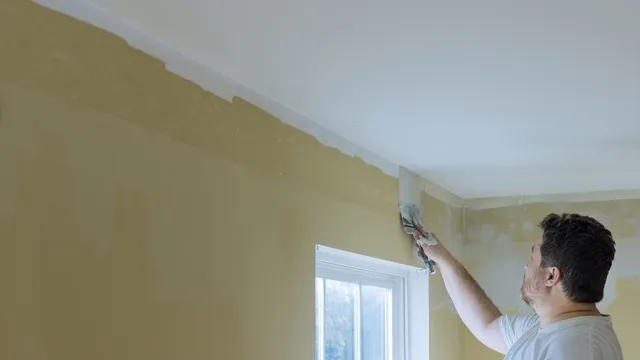
After this, you can finish the walls and ceiling by painting them. Read our article “Painting interior walls in 5 easy steps” to help you with your task.